 Do you remember those crisp old-time Coconut Biscuits that we used to get regularly? They were big, round, flat and nice brown. I remember buying them in the tuck shop at school. One biscuit was all you needed for satisfaction. Well, the day before, a couple of friends and I were reminiscing about school days and the treats we would buy, and everyone talking lovingly and nostalgically about the Coconut Biscuits. We searched online for recipes, but nothing came close to resembling what we were talking about.

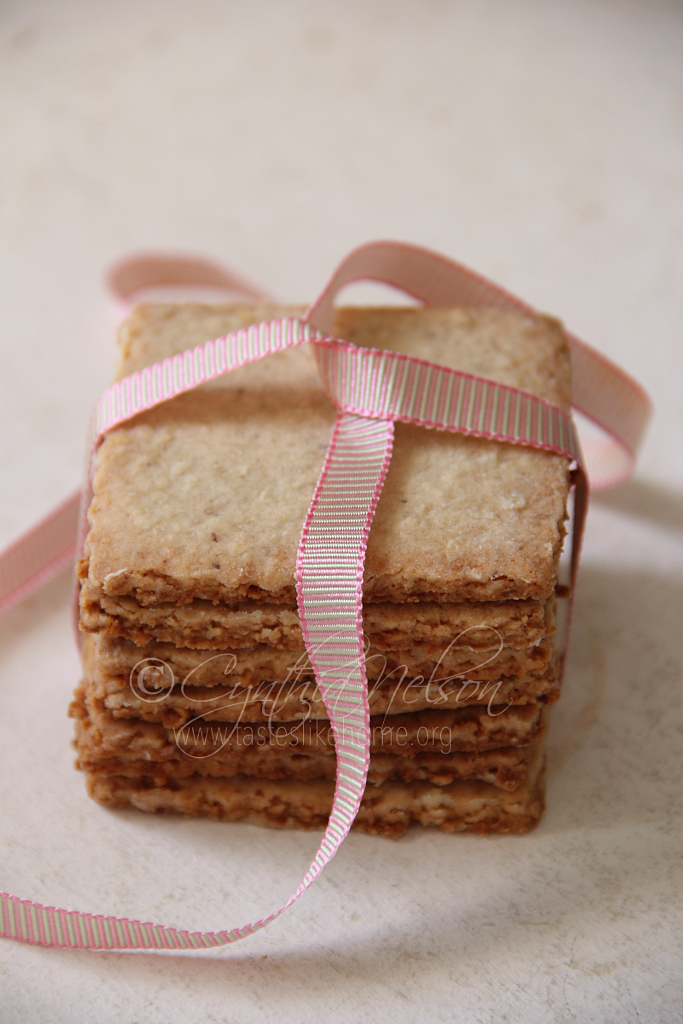
Over the holidays, on Boxing Night to be exact, some of Guyanese friends came over to visit with edible gifts. Guess what was in one of the containers? Homemade Coconut Biscuits! My friend Michelle had heard me talk about Coconut Biscuits and wanted to surprise me. Boy did she surprise me. When Michelle and her husband left, I excitedly opened the package and took out one of the biscuits, they were shaped differently, cut into large squares, some longer than others but that didn’t matter to me. They were going to one place and I don’t think the stomach would discern and reject the biscuits because they were not round! We can’t believe it. They were the exact taste and texture of the Coconut Biscuits from my primary school days that I was looking for. The biscuits were firm and crispy, every bite with that crunch was a delight. You could savor the taste of coconut and the hint of spice, and the biscuits were not overly sweet, they had the right amount that kept you going back for more without feeling guilty. The best part for me was the mouth tone and the crunch experience with each bite. Those biscuits. For the taste of home.
I asked Michelle about the recipe because I wanted to share it with you and really to make it – as is the case with most great chefs and bakers – her recipe was based on appearance and touch. There were no accurate measurements. I offered to go to her place to watch them make the biscuits, but she was shy, and I don’t like to make people uncomfortable, so I didn’t push. He told me he would write the ingredients down and tell me what to do. Last week he sent out his recipe. We had a little back and forth to clarify a couple of things and in the end it all worked out.

(Photo by Cynthia Nelson)
I have to admit I was a bit nervous making the biscuits, especially after I saw how moist the mixture was and wondered if the amount of flour instructed to add was going to bring the dough together in truth. He did. The other part I was a bit unsure of was the baking time; Michelle simply said, it doesn’t take long, stay in the kitchen (laughs). I averaged 15 minutes but at the 15 minute mark the top of the biscuit was still a bit soft so I called on it to find out if we could remove them and if they would harden / crisps, set them as they cool (as is the case with several baked goods). The response was to let it bake a little longer. I sighed. How much is a little longer I wonder to myself? In the end, the ‘a little longer’ turned me into 3 minutes.
The biscuits came out perfect and tasted just as good as the ones I had gifted on Boxing Night.
The recipe I’m sharing with you today is exactly what my friend gave me; I have changed the wording only to clarify and quantify the ingredients. Try it out and let me know what you think.
Coconut Biscuits
Product: 26 – 28 (3 ½ inch biscuits)
INGREDIENTS
- 1 large, grated coconut (2 ¾ cups)
- West Indian ½ lbs brown sugar (1 cup and 1 tbsp)
- Vegetable shortening 3 oz, room temperature
- Margarine 1 oz, room temperature (I used butter; 2 tbsp)
- Purified flour 1 lbs (3 ½ cups)
- Essential for flavoring (I used 2 teaspoons almond essence; vanilla or mixed can work)
- Sprinkle with ground cinnamon (I used 1 level teaspoon)
INSTRUCTIONS
1. Mix the coconut, sugar, shortening and butter together and continue to mix as if creaming butter and sugar until mixture is creamy and fluffy – this takes 15 minutes if mixed with by hand, if using a blender, about 10 minutes.
2. Add essence and cinnamon to the creamy coconut, sugar mixture and mix to fully incorporate.
3. Add the flour a little at a time to form a dough; I added for a cup at a time. Make sure the flour is fully incorporated before adding the next set. The dough should come together and be like pastry dough.
4. Preheat the oven to 350 degrees F and 2 parchment paper baking sheets and set aside.
5. Flour work surface and roll pin generously.
6. Divide dough in half and shape flat circle, sprinkle some flour on the surface of the dough, and working with one piece at a time, roll the dough flat just shy of ¼-inch thickness. Cut into shapes with a knife or cookie cutter. Transfer to a baking sheet. Collect leftovers, form into a ball and continue rolling and cutting. Repeat with the other half of the dough.
7. Bake for 18 minutes, changing pans on the shelf halfway through baking.
8. Transfer to wire racks to cool completely. The biscuits are baked in pale color.
9. Store in an airtight container at room temperature for one week.
NOTES
- It doesn’t matter if the butter you use is salted or unsalted
- You can choose to roll the biscuit dough between two sheets of parchment paper
- I used 2 x 13 in 18-inch baking sheets; the biscuits do not spread as they bake so you can place them about 1 inch apart.
- The biscuits, if cut into smaller sizes, will obviously produce more.
Cynthia
[email protected]
www.tasteslikehome.org